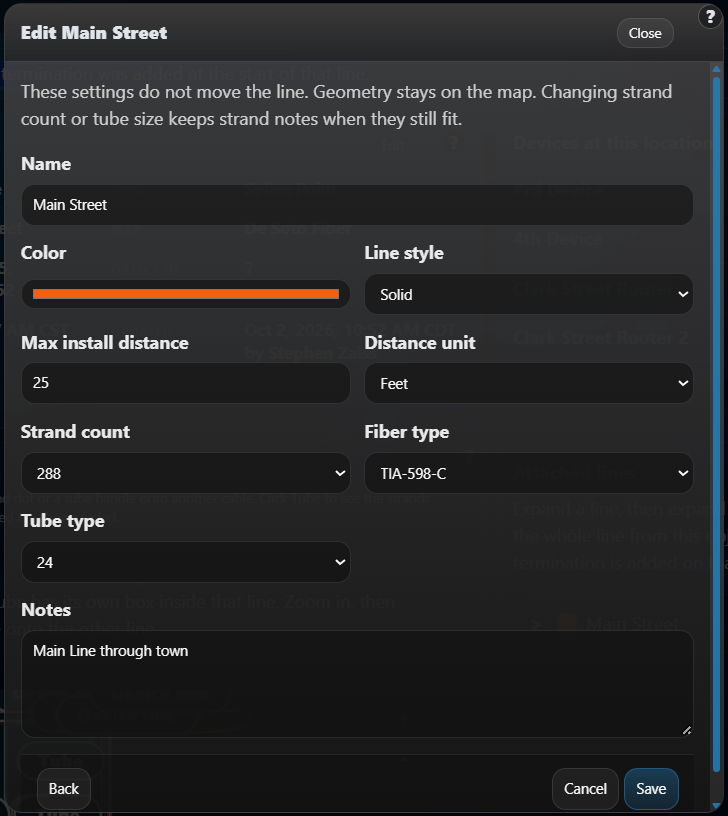
Fiber - Object Details Menu
This page contains a detailed overview of the object details menu in the Fiber creation feature.
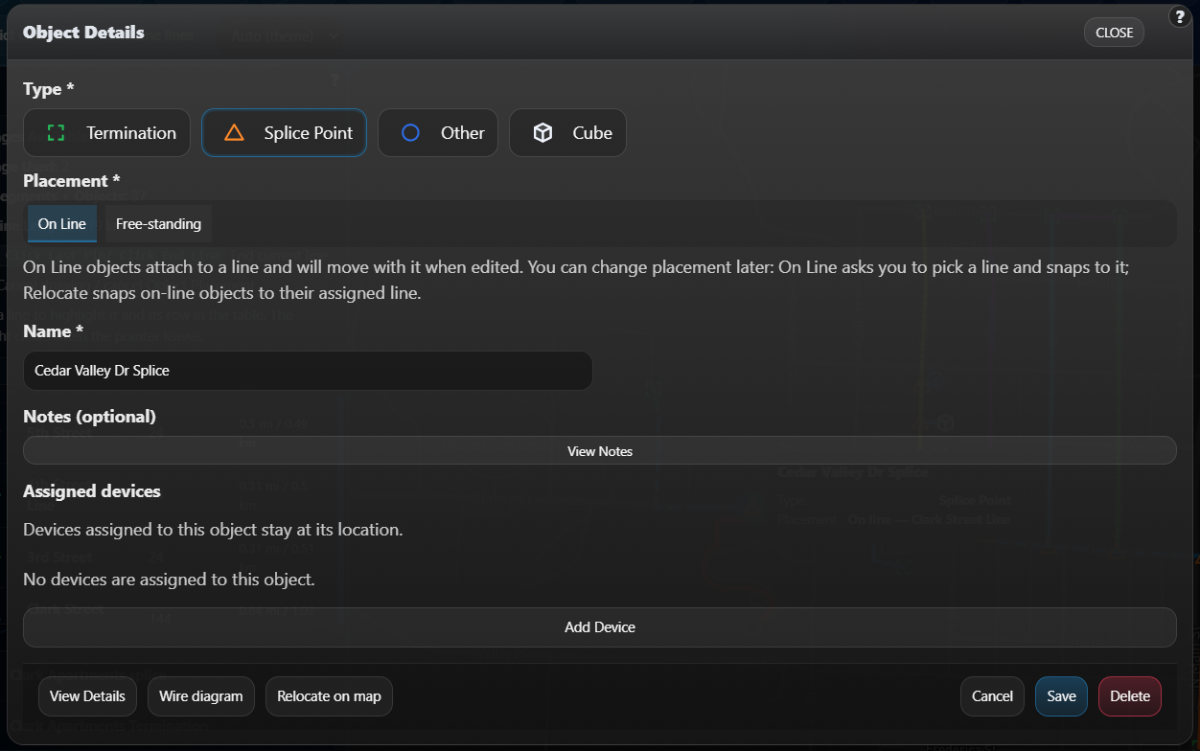
Type and Placement Menus remain the same as they do during new object creation. You can alter the Type and Placement of an object here.
- Click the Relocate on map button to change an object's position. Click Confirm or Cancel to Save or Abandon your changes.
You can change the name or edit the notes associated with the object under their respective fields.
Click the Add Device button to assign a device to an object. Multiple Devices can be added to the same object.
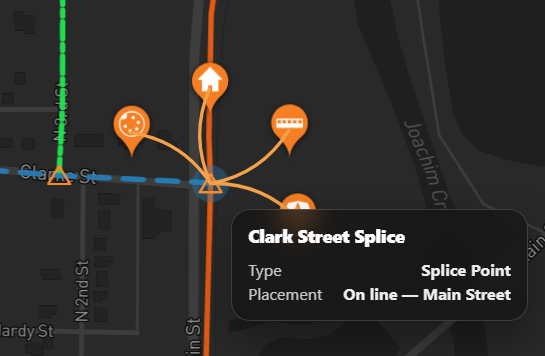
- Device Name
- Type
- Manhole
- Access Point
- Hut
- Notes
- Switch
- Box
- Group
- Notes
Provide a unique name for the Device. (Must be alphanumeric and can contain dashes or underscore only.)
There are several device types available to add to an object.
Group is optional but beneficial when it comes to organization.
The Notes field is meant to contain data for your tracking and record keeping purposes.
The Wire Diagram from the Object Details Menu shows how the cables, strands, and devices meet at the specified object.
- Drag to move the picture. Scroll, or use + and −, to zoom.
- Drag a strand dot, or a Tube handle, from one cable onto another cable or onto a device.
- Click a connection to edit the notes or remove it.
- If one side is a device, you see the fiber note and the address on that strand.
- Click Tube on a device connection to see the strands in that tube.
- A device that has strands plugged in sits next to those cables.
- A device that is only linked to another device sits farther out, so new plugs do not pile on top of the first device.
The View Details Button takes you to a separate Object Details Page.
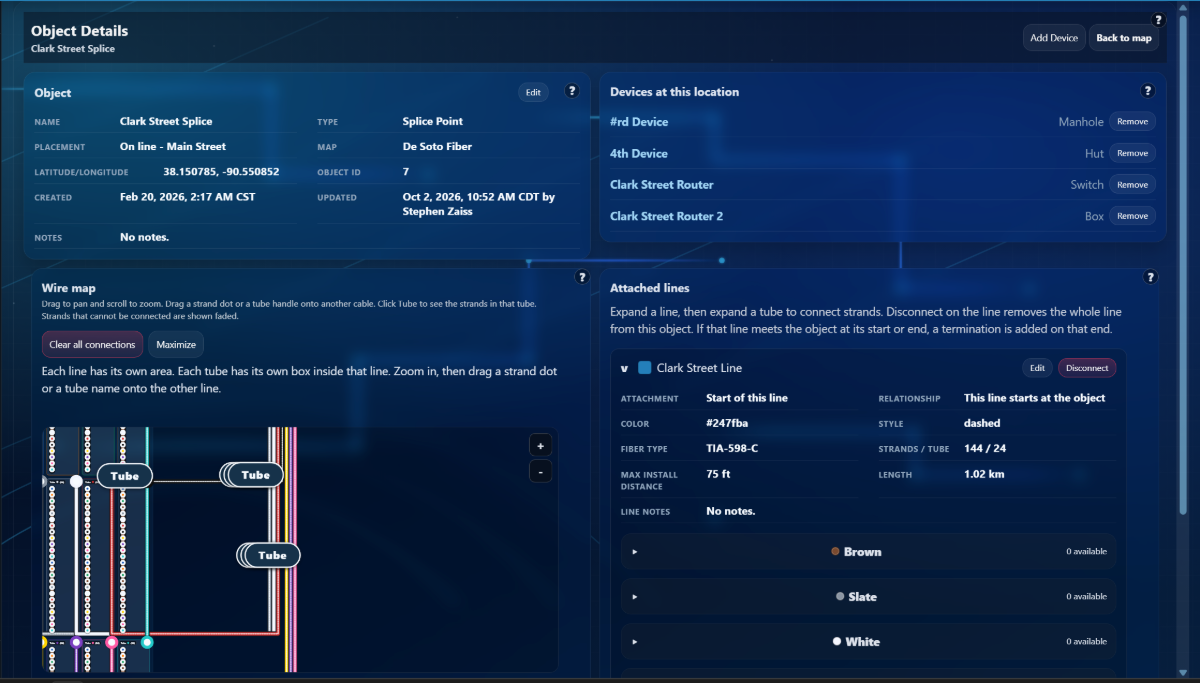
This page shows one object and the fiber lines attached to it.
- The object panel contains information in regards to the object itself.
- The devices panel displays all connected devices.
- The wire map shows how strands are spliced at the current location.
- The attached lines list is where you open each cable, open a tube, and connect strands.
- Back to map will return you to the fiber map.
- Add Device creates a new device here.
Object
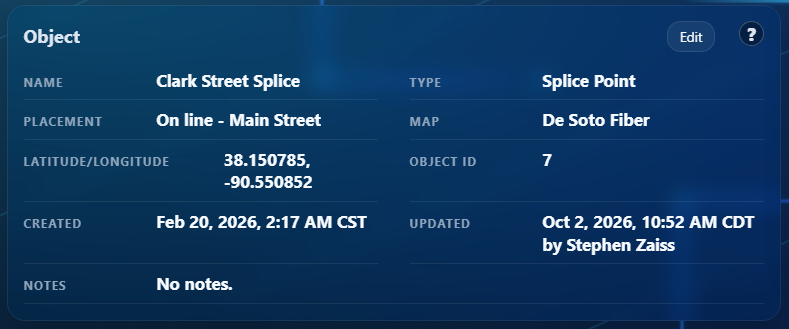
This panel contains basic information for the object.
- Type is what the pin is, such as a splice or a termination.
- Placement says whether it sits on a line or stands on its own.
If you click "Edit Object" you can Change the object’s name, type, and notes.
- This does not move the object on the map.
- A termination can say whether it is the start or the end of the line.
- Save keeps the changes. Back leaves them alone.
Devices at this location
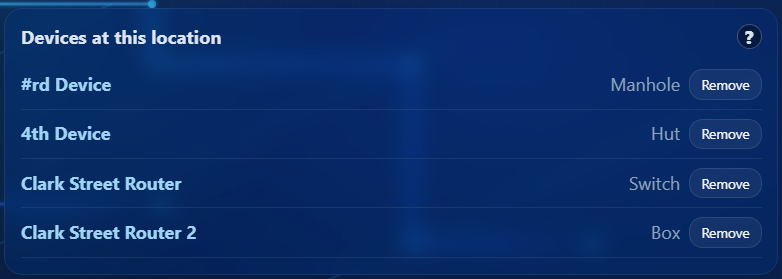
This panel lists all the devices attached to an object.
- Click "Remove" to delete the connection between the object and the selected device. This action will clear the strand plugs, strand addresses, and any links between the selected device and the object. The connections will not be left behind. The device itself will stay in your account until you delete it.
- Click a device name to open it. You can set the device address, the address on each link, and the address on each plugged strand.
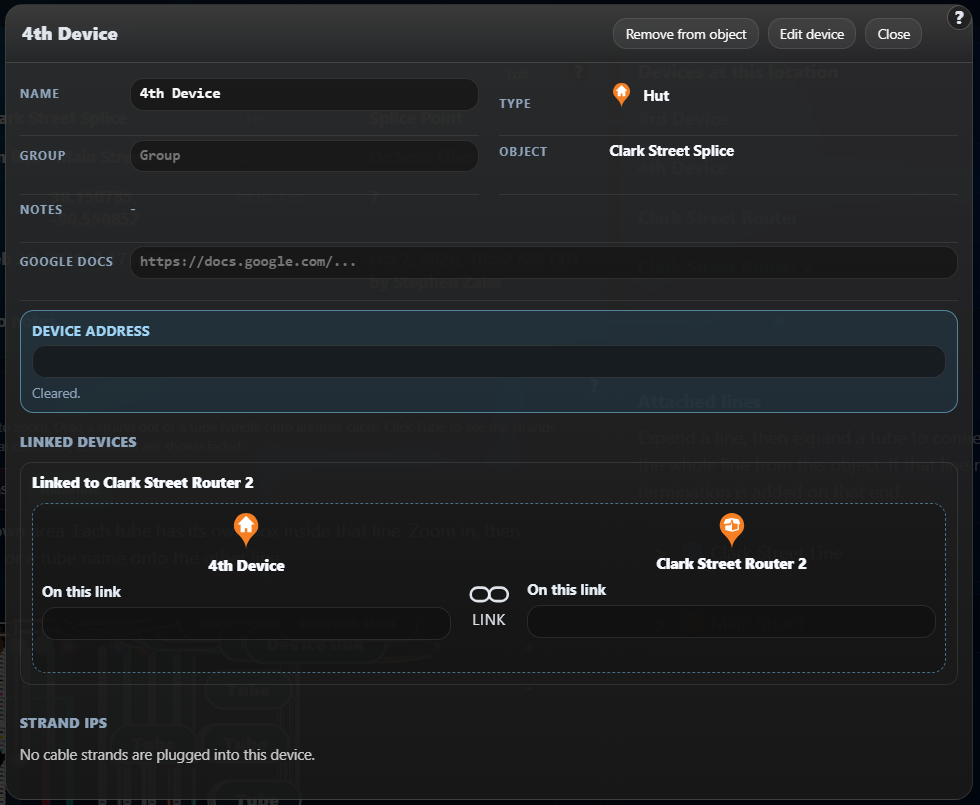
When you click on a device in the "Devices at this location" panel of the object details menu you'll gain access to the following options:
- You can edit the name, type, group, and notes.
- You can edit the device address.
- The device address is the address of the device itself. It saves when you leave the box.
- You can view linked devices
- Linked devices are other devices at this same object. Each side of a link can have its own address.
- Strand IPs are grouped by fiber line.
- Open a tube to type an address for each strand plugged into this device.
- Edit device opens the full device page.
- Remove from object tells you the object and fiber map. Strand plugs and links are cleared. You can keep the device in your account or delete it.
Wire Map
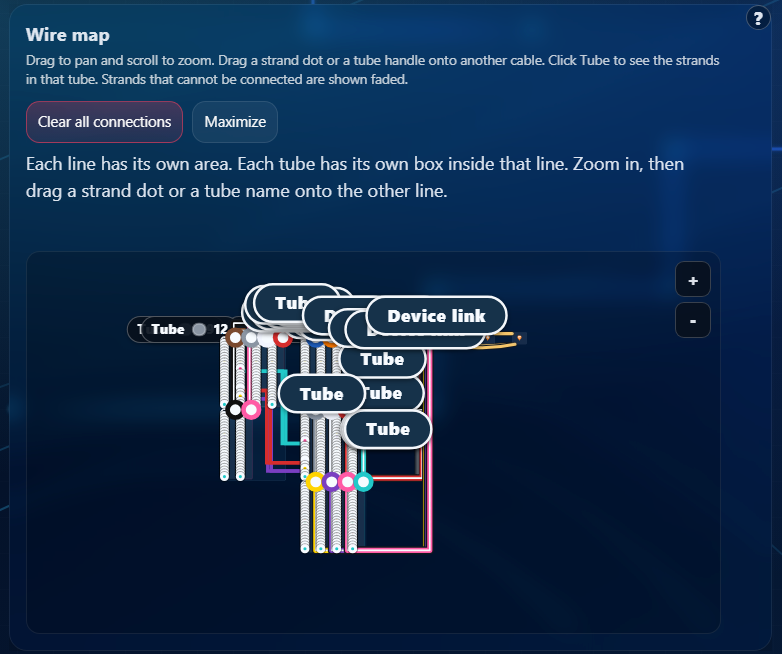
This panel shows the strands spliced at an object.
- Drag to move the picture. Scroll to zoom.
- Show all strands shows every strand, not only the ones already spliced. Drag a colored dot, or a Tube pill, onto a strand on the other cable or onto a device.
- Click a connection to change its notes or remove it. Click Tube on a device connection to see the strands in that tube.
- A device with strands plugged in sits next to those cables. A device that is only linked to another device sits farther out.
- Show unusable strands marks strands you cannot use. Unusable strands list opens the list.
- Maximize hides the object card so the picture is larger. The page remembers that choice for you.
Click "Device Link" to open the device link menu.
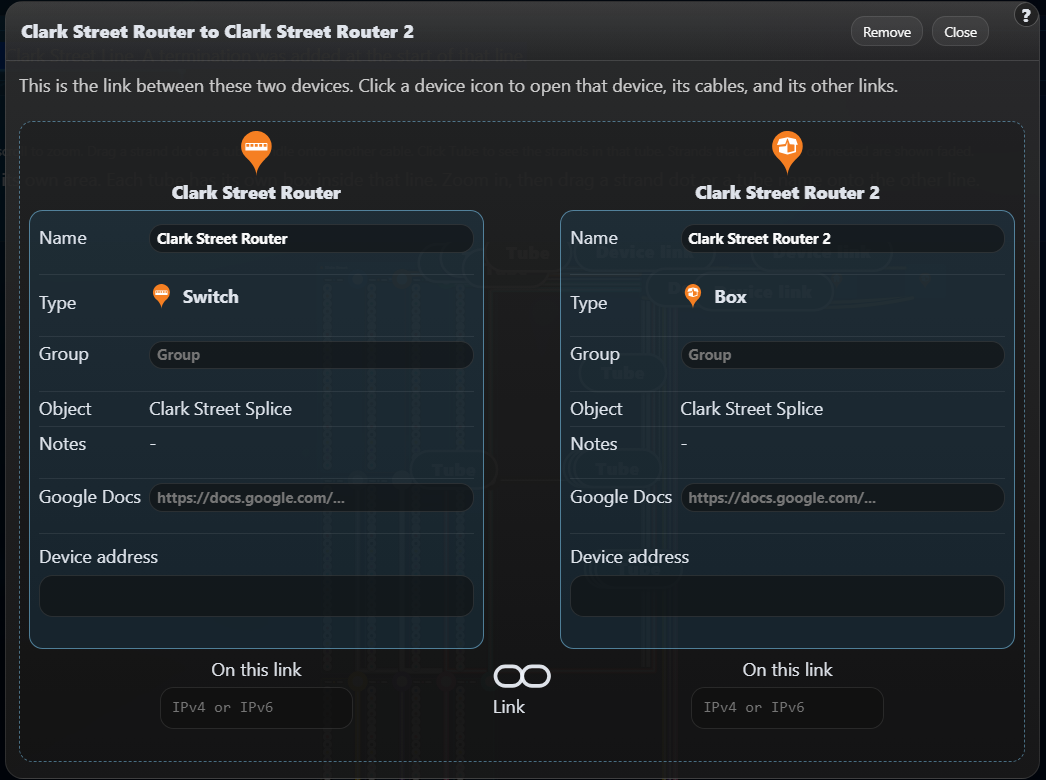
Name, type, group, and notes can be edited here as well as Google doc links, and device addresses.
- Each side can have its own address. It saves when you leave the box.
- Remove takes the link away. Both devices stay on this object.
- Close leaves this window.
Click "Tube" to open the strand diagram.
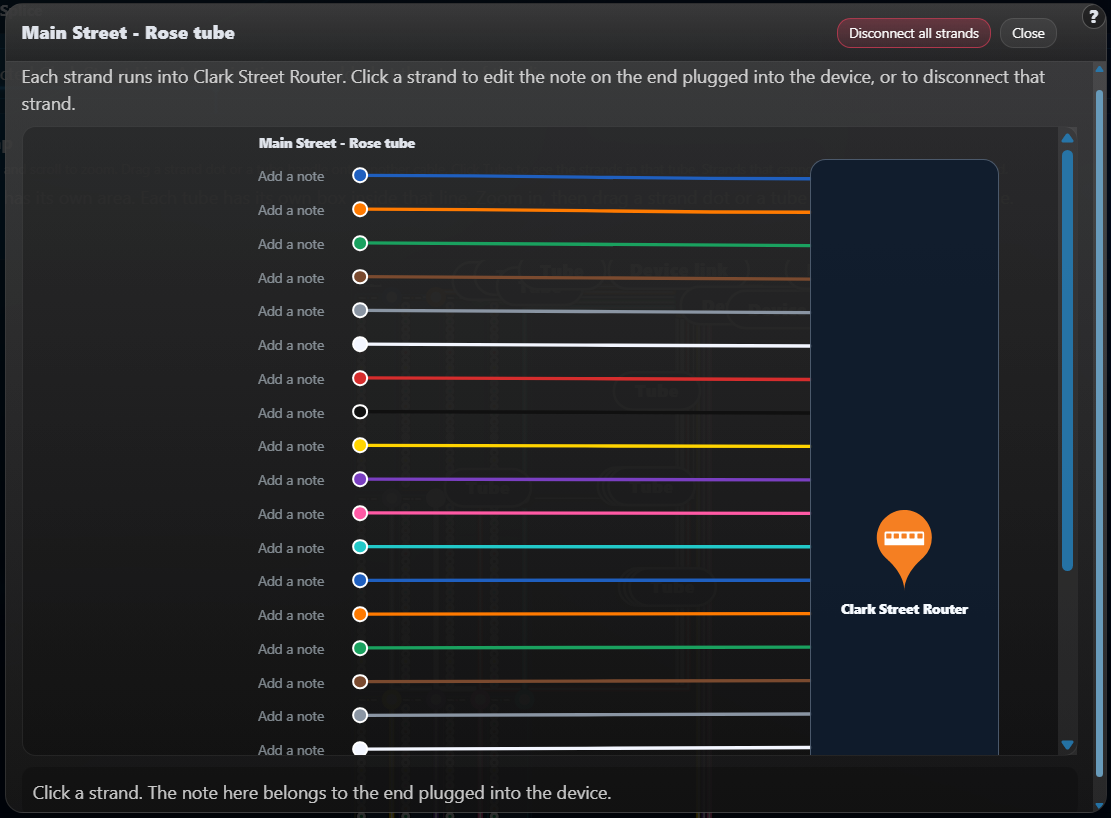
These strands from one tube are plugged into the device. Each strand is drawn to the device icon.
- Click a strand to edit the note on the end plugged into the device. Save note keeps that note. A note on the other end of the strand is left as it is.
- Disconnect this strand unplugs that one strand. The device stays on the object.
- Disconnect all strands unplugs the whole tube. It warns you first, because the notes on the ends plugged into the device are removed. Notes on the other end of each strand stay.
- Close returns to the wire diagram.
Attached lines
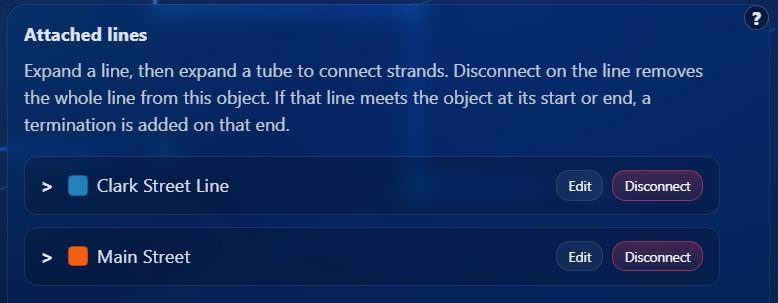
This panel shows the fiber lines tied to an object.
- Click a line name to open it. The tubes stay closed until you open one.
- Open a tube, then click Connect on a strand to splice it to a strand on another line.
- Un-splice removes that one join. Disconnect removes the whole line from this object. If the line ended here, a termination is placed on that end.
- Lock keeps this line open when you open another line.
- Edit changes the line name, color, strand count, and notes. It does not move the line.